Ubuntu is a popular Linux distribution that is widely used for its reliability and security. One of its notable strengths is its dual offering: the desktop and server versions. The desktop version comes with a graphical user interface (GUI), which makes it an ideal choice for newcomers. On the other hand, the server version does not have a GUI, as it is designed for advanced uses who prefer command-line operations. Some tools, however, perform better and are easier to manage with a GUI. If you use a tool with a GUI, installing a desktop environment may improve the experience of working with the server.
In this guide I will show you how to install a desktop (GUI) on your Ubuntu server and setup remote desktop if you have ubuntu server on a VPS.
Prerequisites:
- A Local Server or Virtual Private Server (VPS) running Ubuntu Linux Server
- A user account with superuser or root privileges
Update Repositories and Packages
Open the terminal on your computer and if you use a VPS ssh into it. I have a VPS and using Termius to connect to it. Before starting to install the GUI ensure the software on the server is up-to-date using this command:
sudo apt update && sudo apt upgrade -y
this command will refresh the package lists and install any available updates.
Install and set up Display Manager
A display manager is a program that provides the graphical login screen, manages user sessions and user authentication.
There are several display managers available for ubuntu, such as GDM3 (which is the default one), SLiM and LightDM.
We will be using SLiM in this guide because it is less resource-intensive and lightweight compared to the others.
- To install SLiM, run:
sudo apt install slim
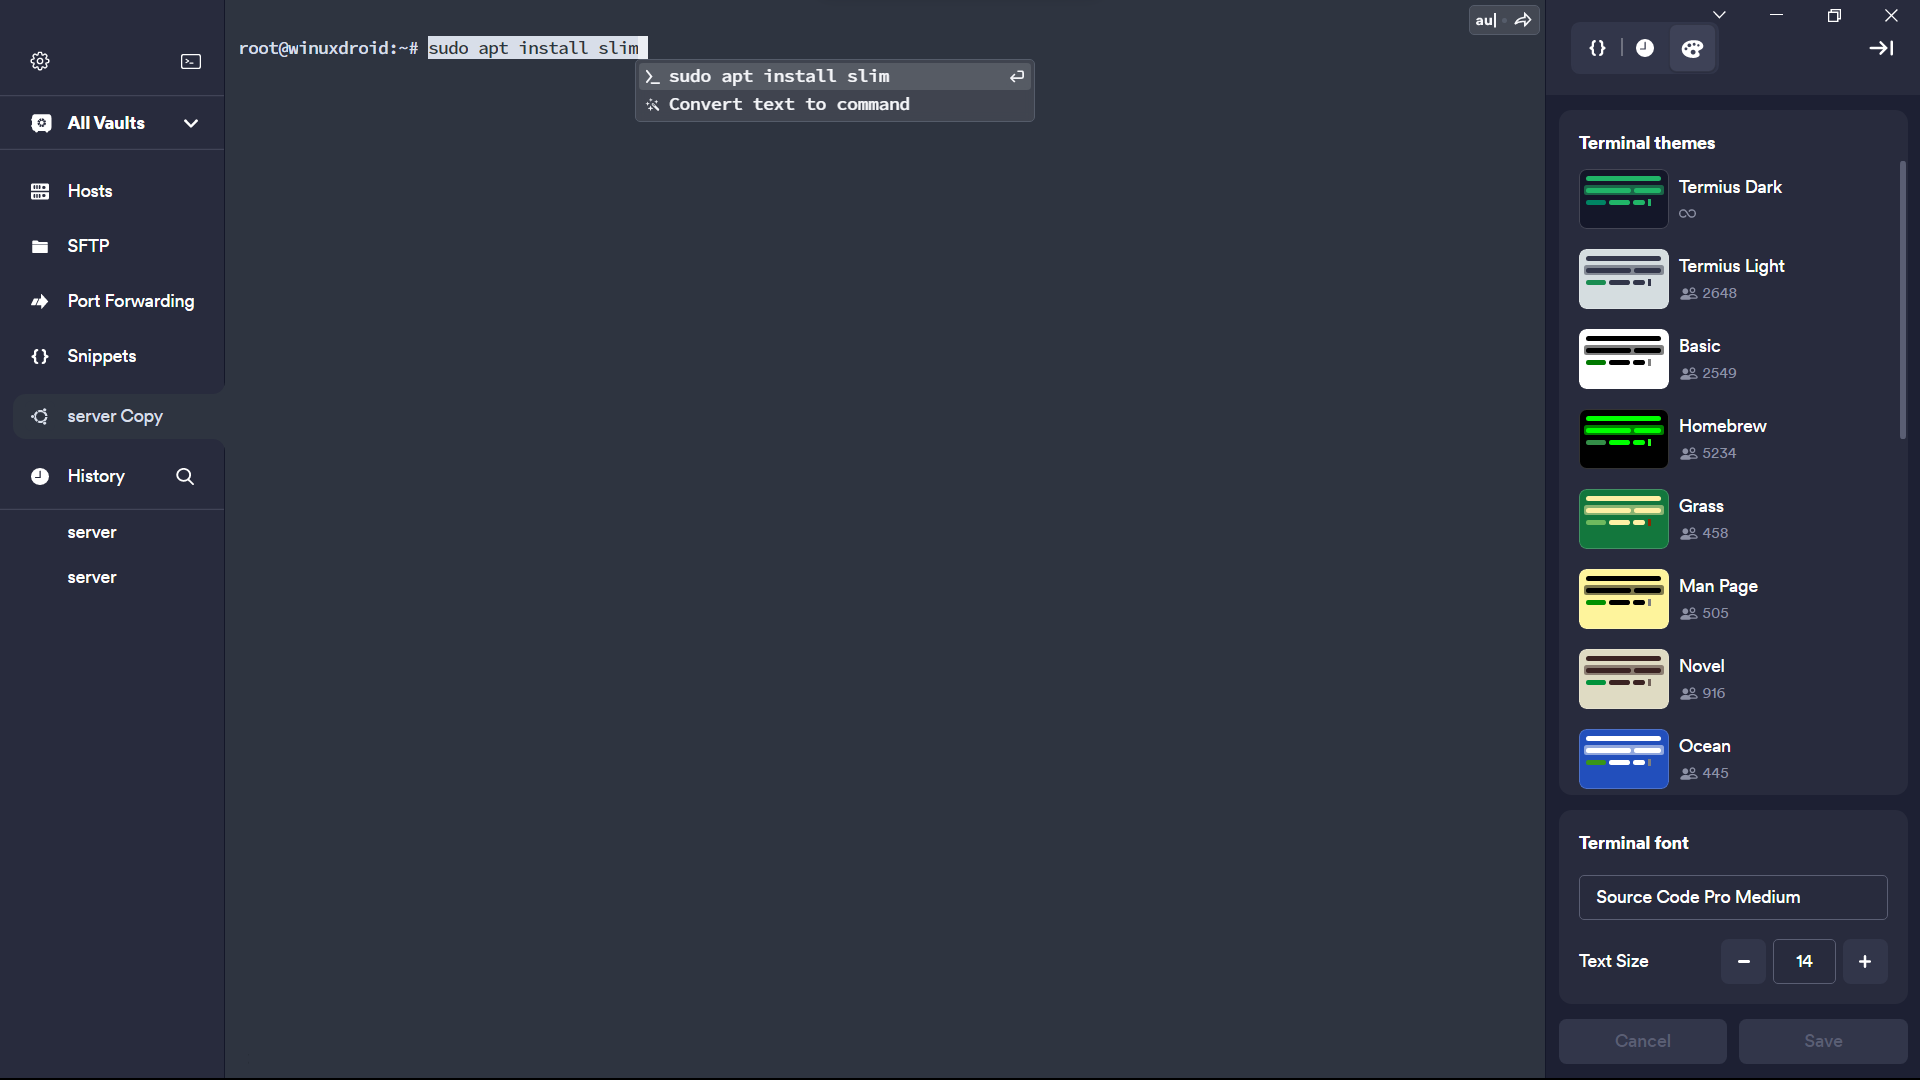
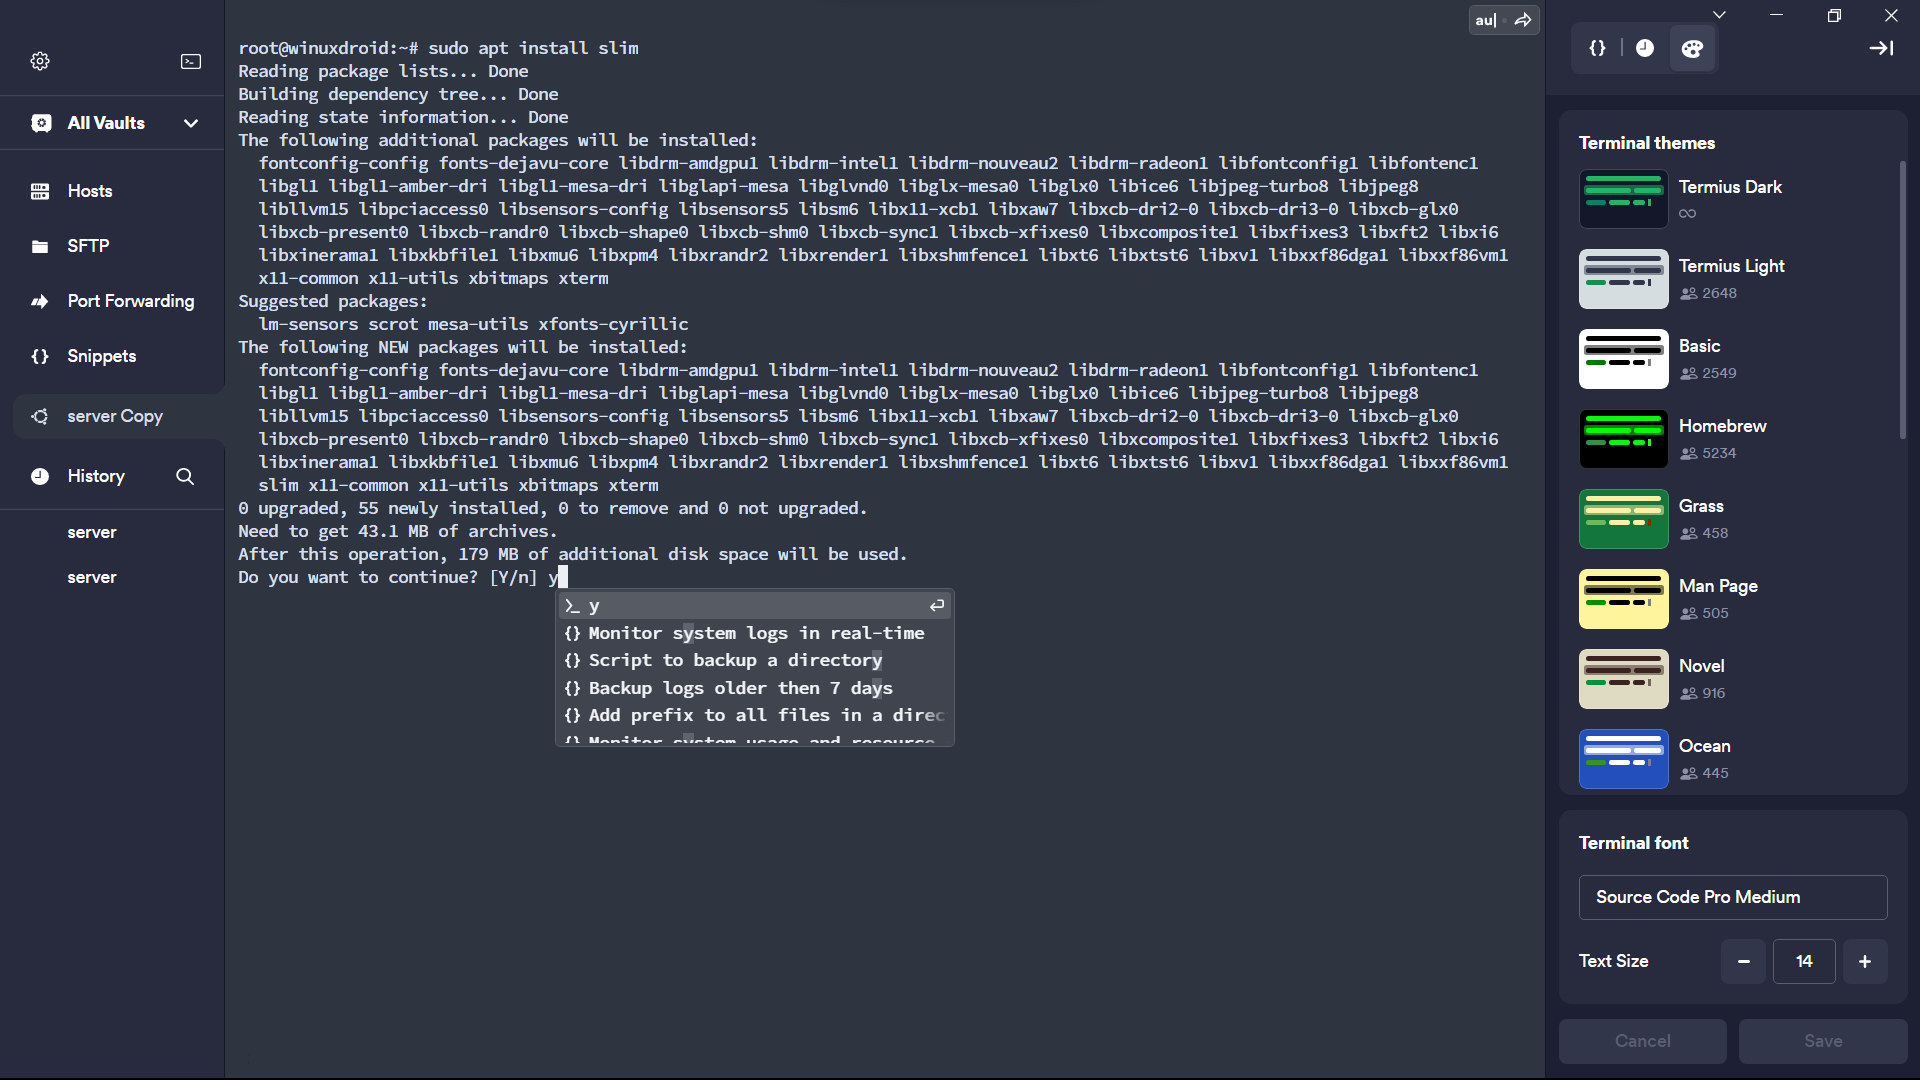
2. Press Y and then hit Enter to install additional require packages as shown below
If you prefer to install LightDM or GDM3 display manager use the following commands:
sudo apt install lightdm
sudo apt install gdm3 -y
Install the desktop environment (GUI)
There are several desktop environments available for ubuntu, such as GNOME (default), KDE, XFCE, MATE
Ubuntu Desktop
The default Ubuntu Desktop is a modified version of the GNOME desktop environment. You can install it by running the following command:
sudo apt install ubuntu-desktop
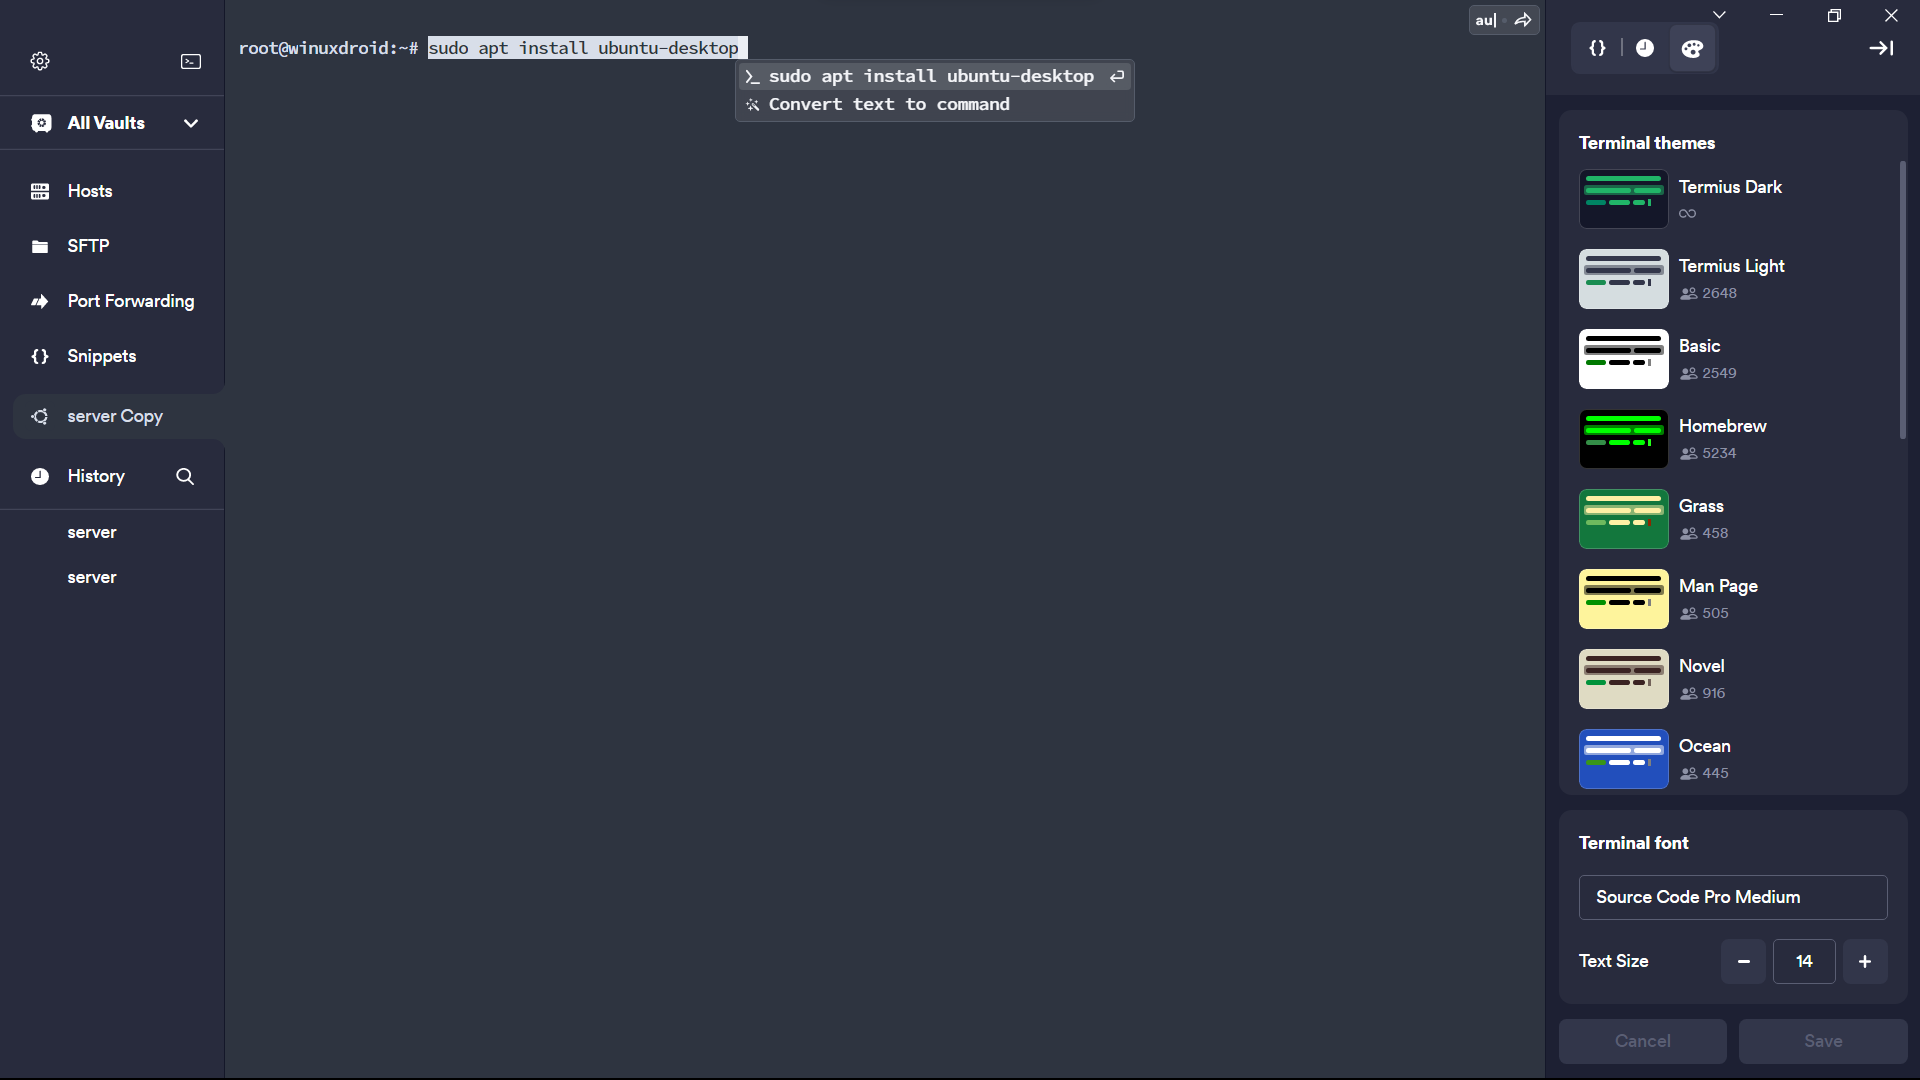
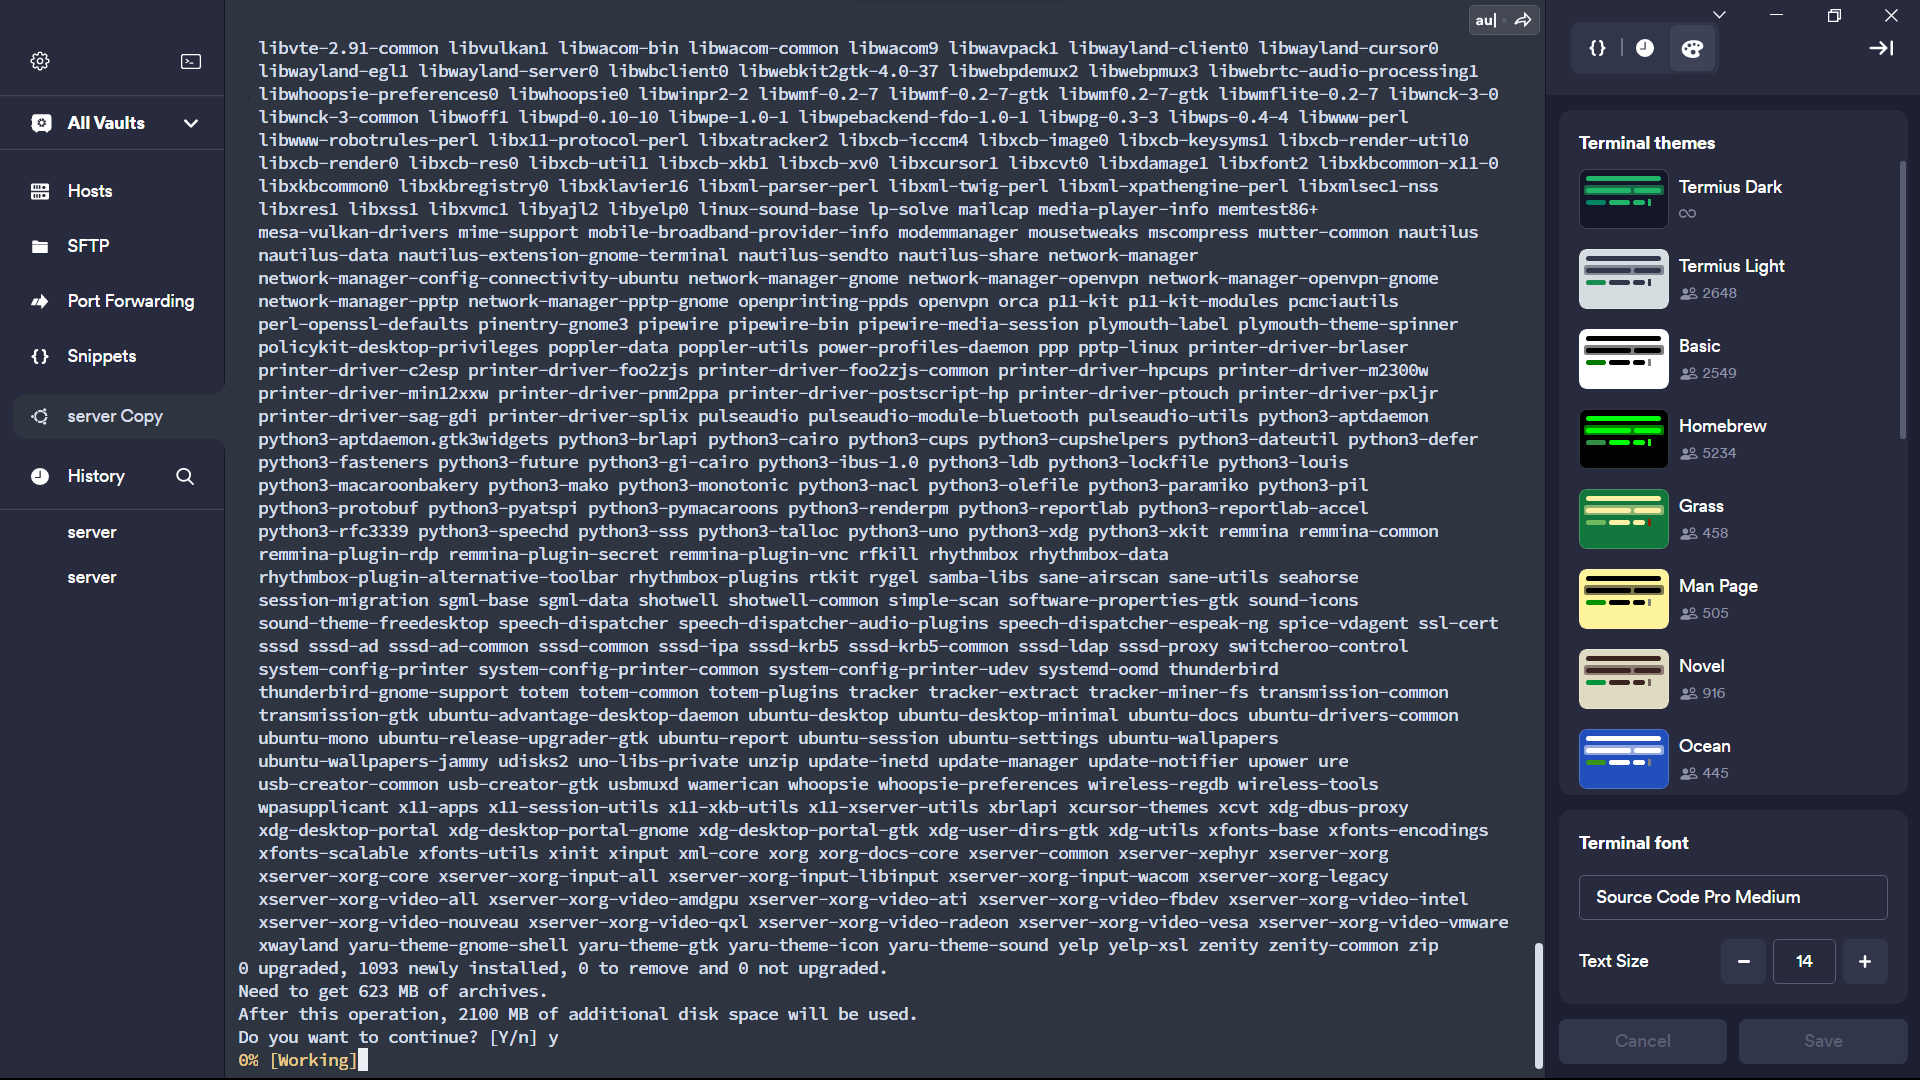
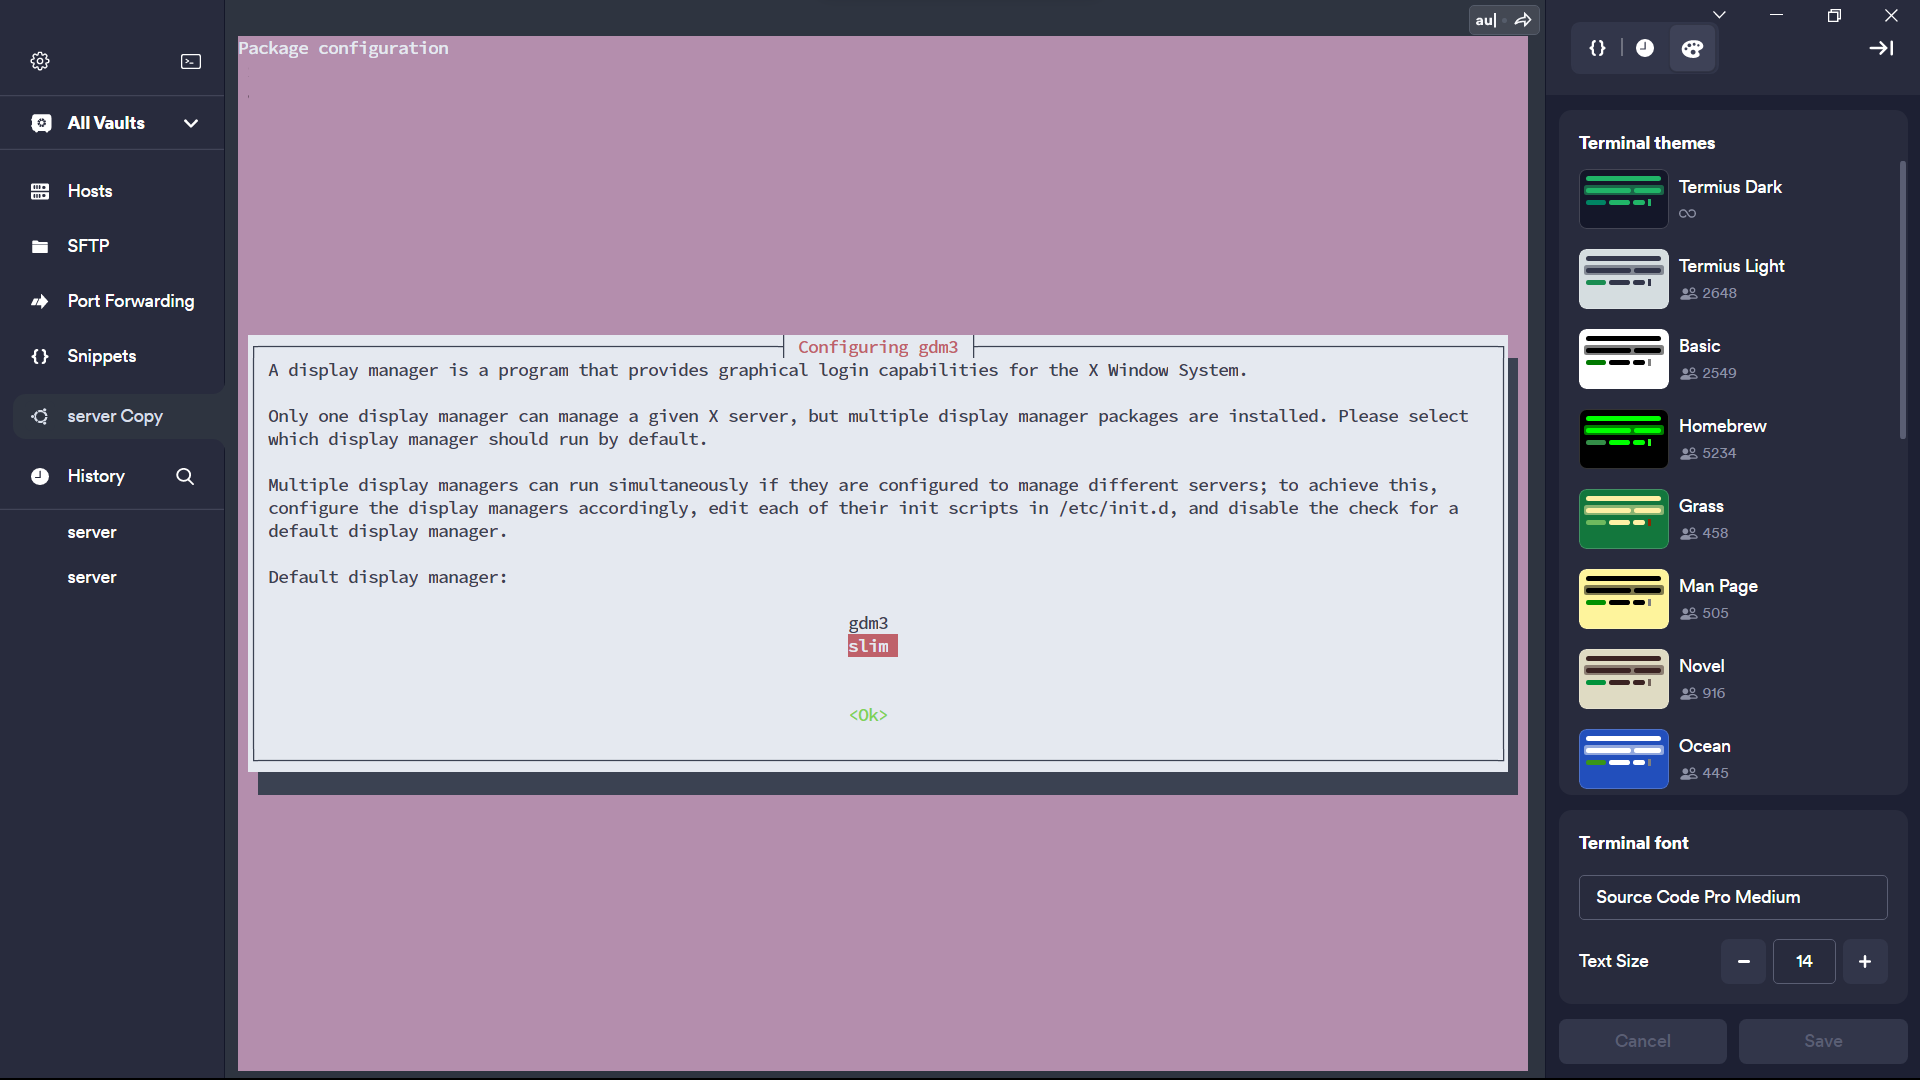
Note: if asked, confirm slim as the default desktop manager.
Alternatives to the default desktop environment
KDE Plasma
sudo apt install kde-plasma-desktop
XFCE
sudo apt-get install xfce4-session xfce4-goodies
MATE
sudo apt install ubuntu-mate-desktop
LXDE
sudo apt install lxde
``
Finally, when you are done installing your preferred desktop environment, you can reboot the system to start the GUI and you can also start without rebooting.
to reboot:
sudo reboot
or start without rebooting:
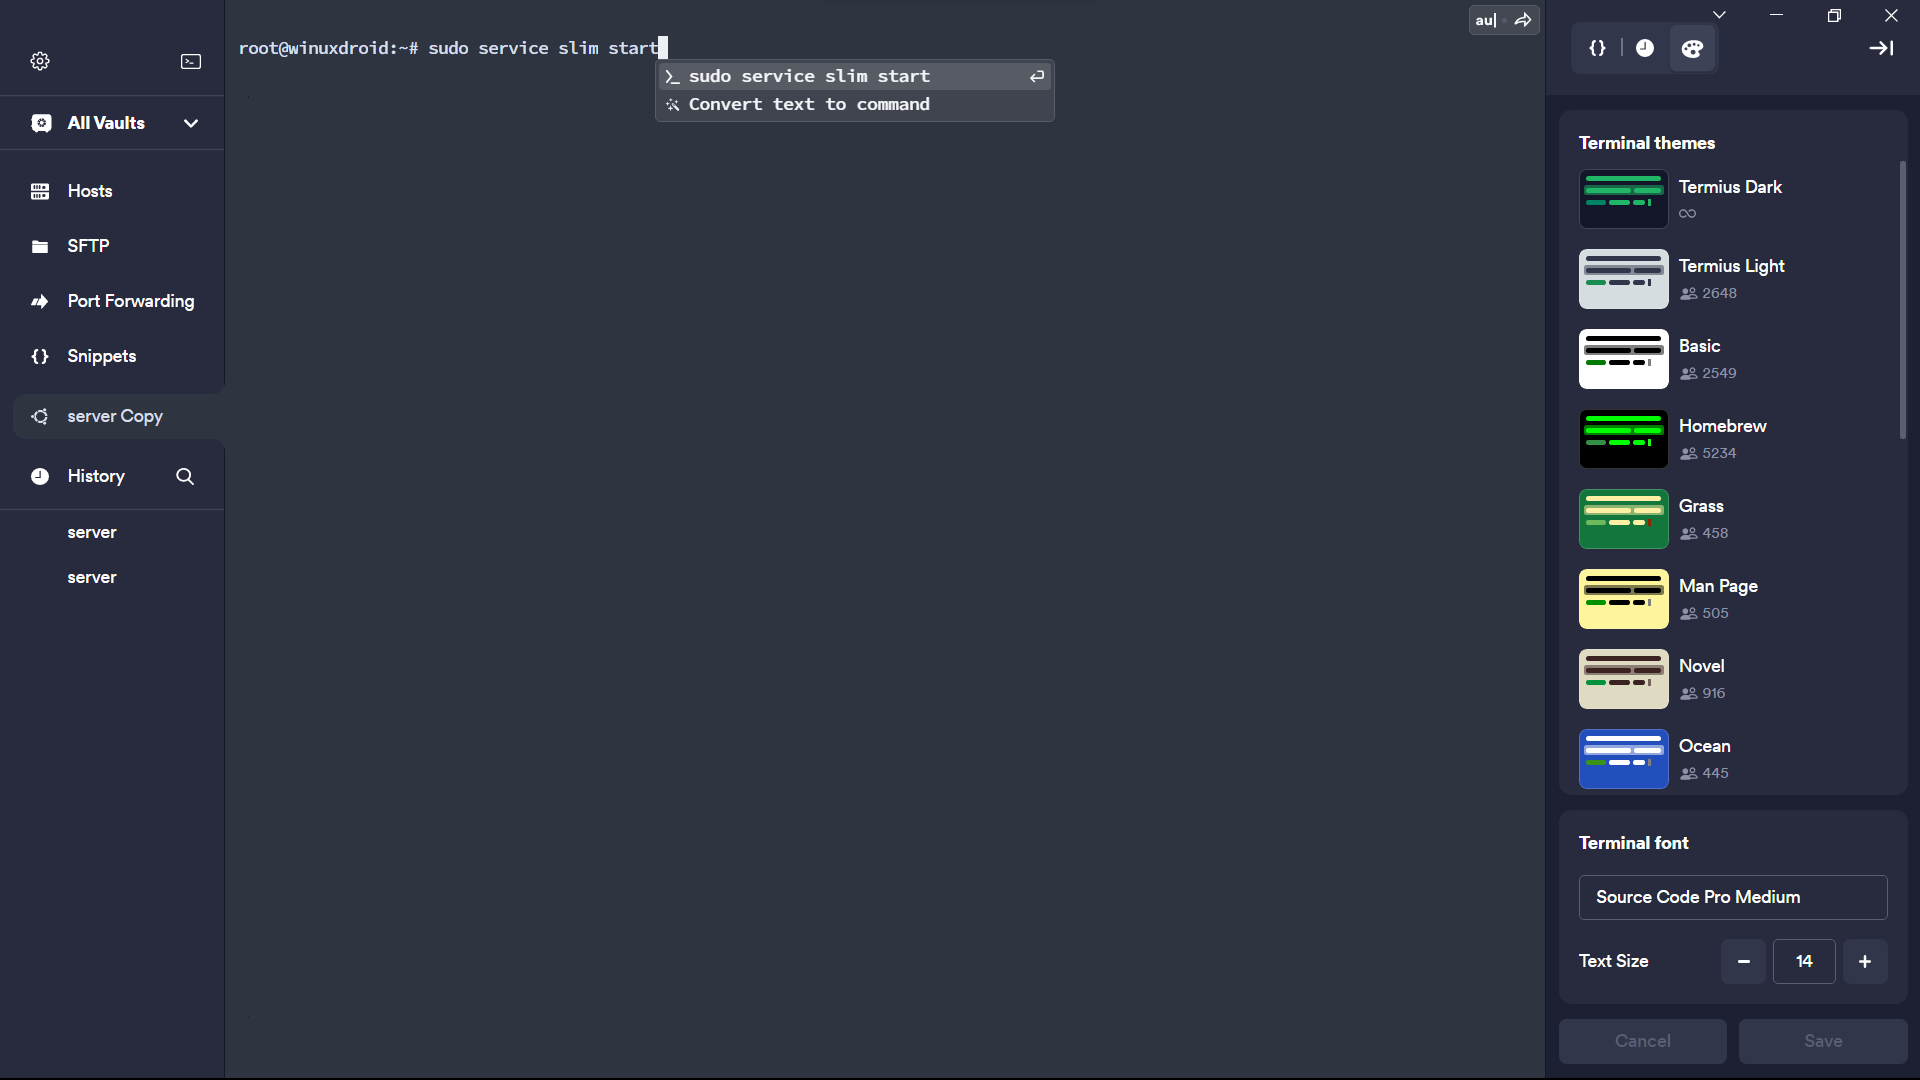
sudo service slim start
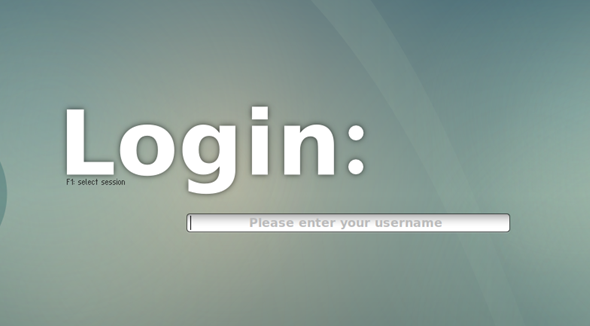
After the system reboots, a graphical login screen appears. The default display manager generates this screen.
Note: If you are setting gui for vps you need some extra steps to setup rdp, skip to next step
Setup Remote Desktop Using Xrdp
Remote Desktop (Xrdp) is a free and open-source implementation of the Microsoft RDP server that enables operating systems other than Microsoft Windows to provide a fully functional RDP-compatible remote desktop experience.
sudo apt-get update
After updates, Run below command to install Xrdp on your server
sudo apt-get install xrdp
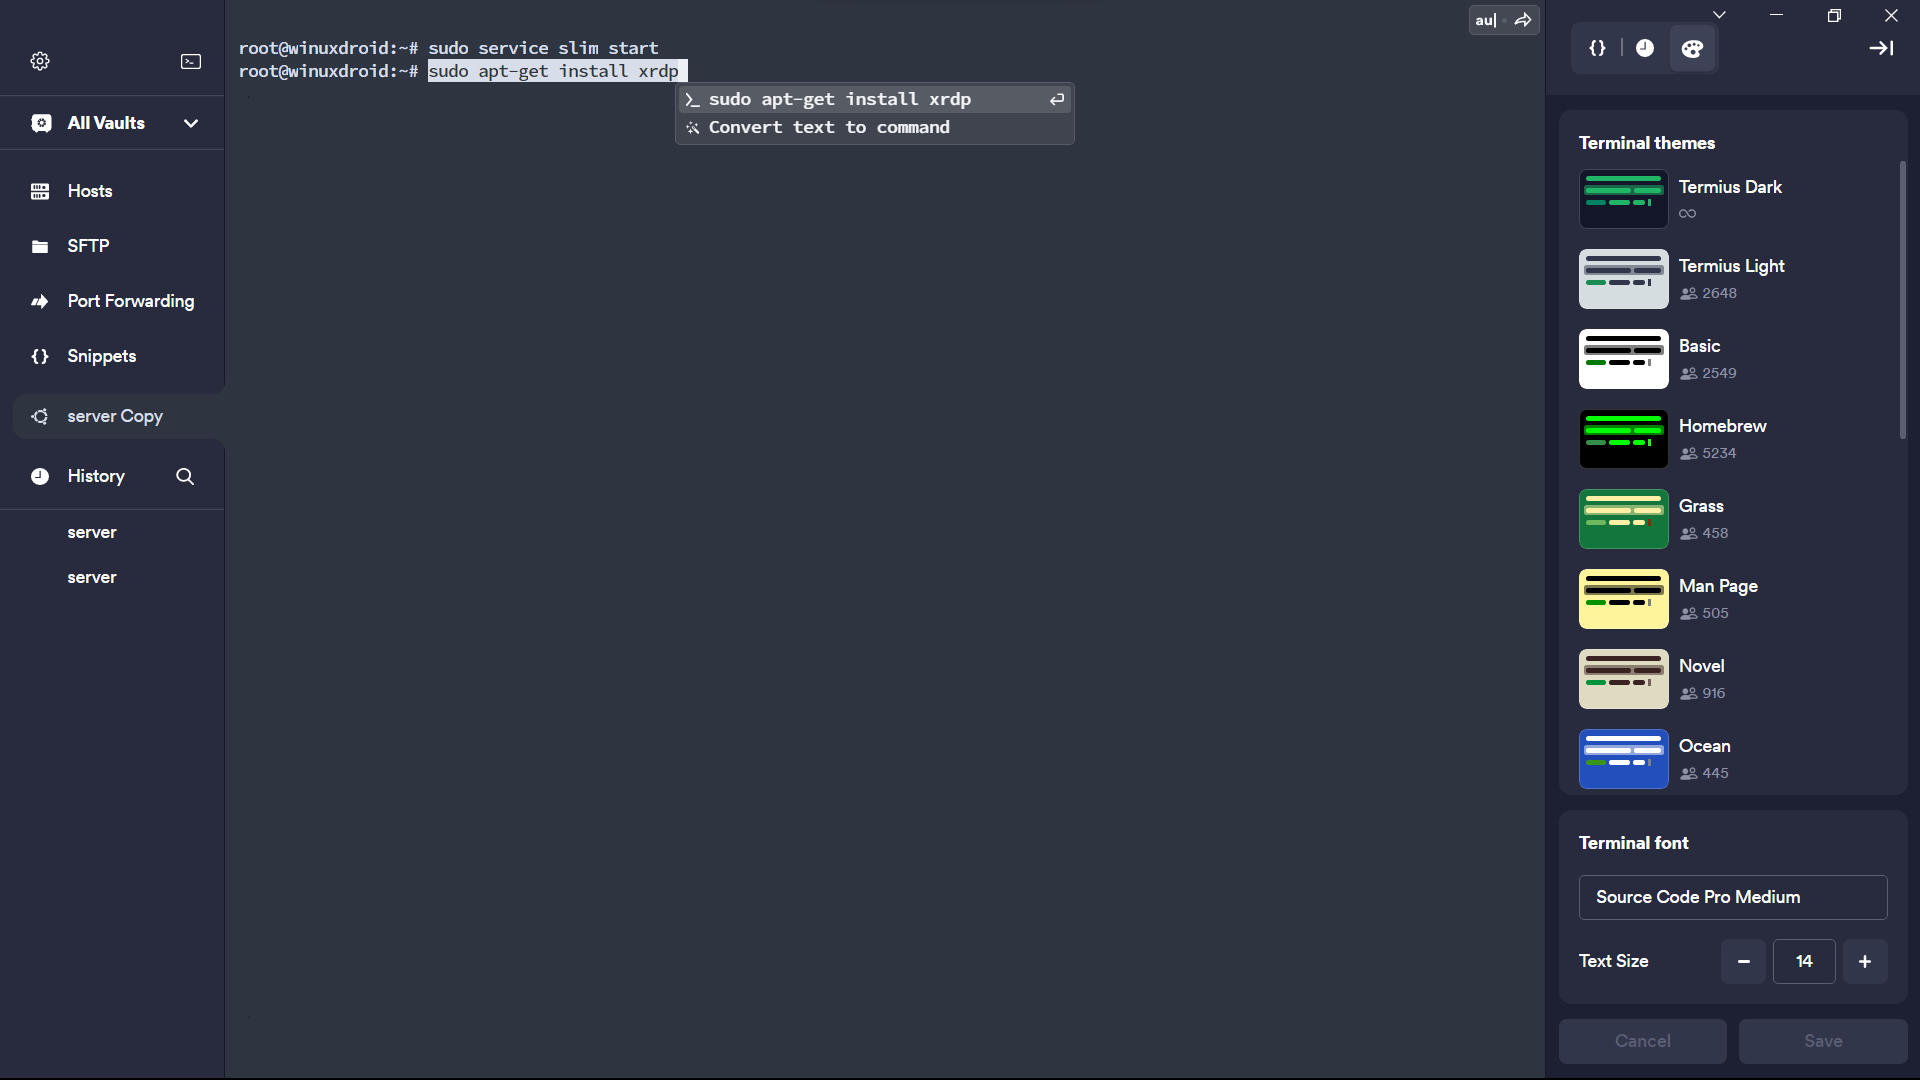
Allow RDP port in Firewall
Post configuring, To connect with the RDP session you need to allow the port in firewall which by default is closed. Run the below command to open the port:
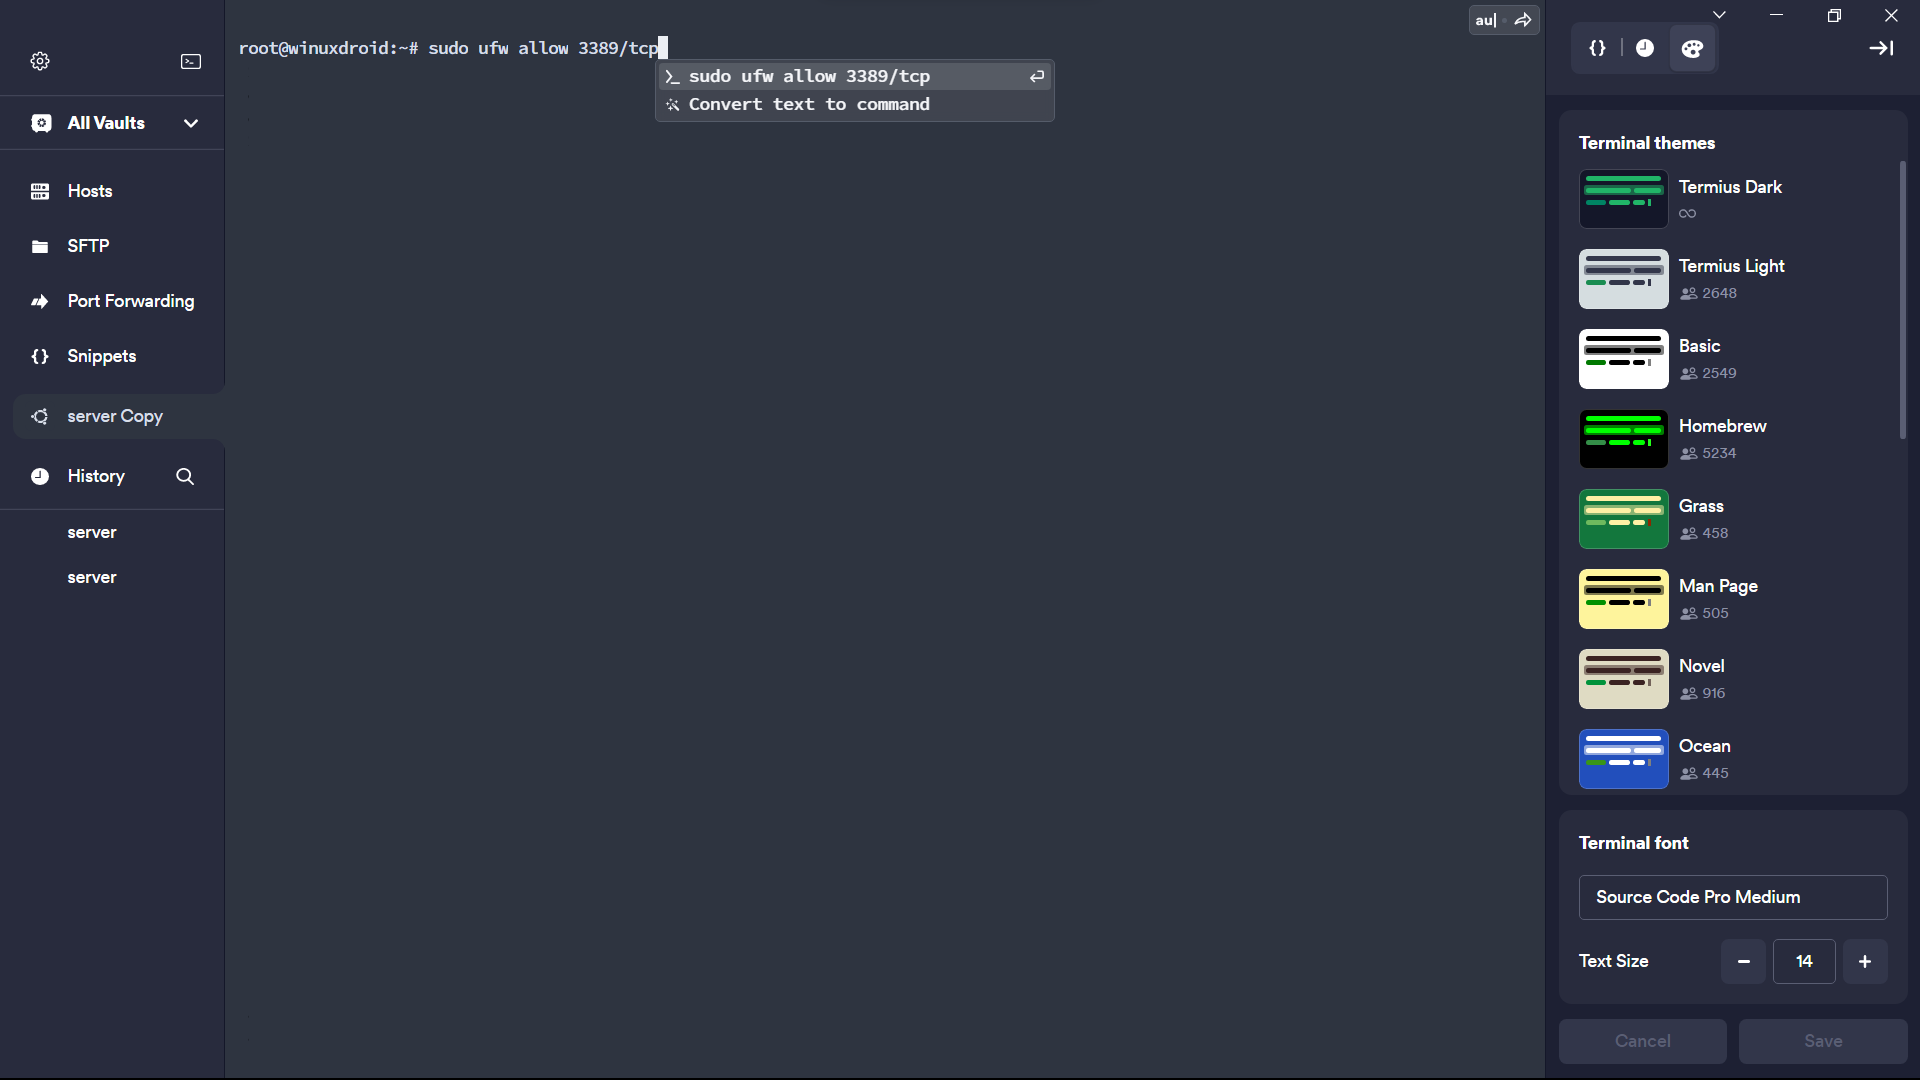
If you have enabled UFW, Use to the below command
sudo ufw allow 3389/tcp
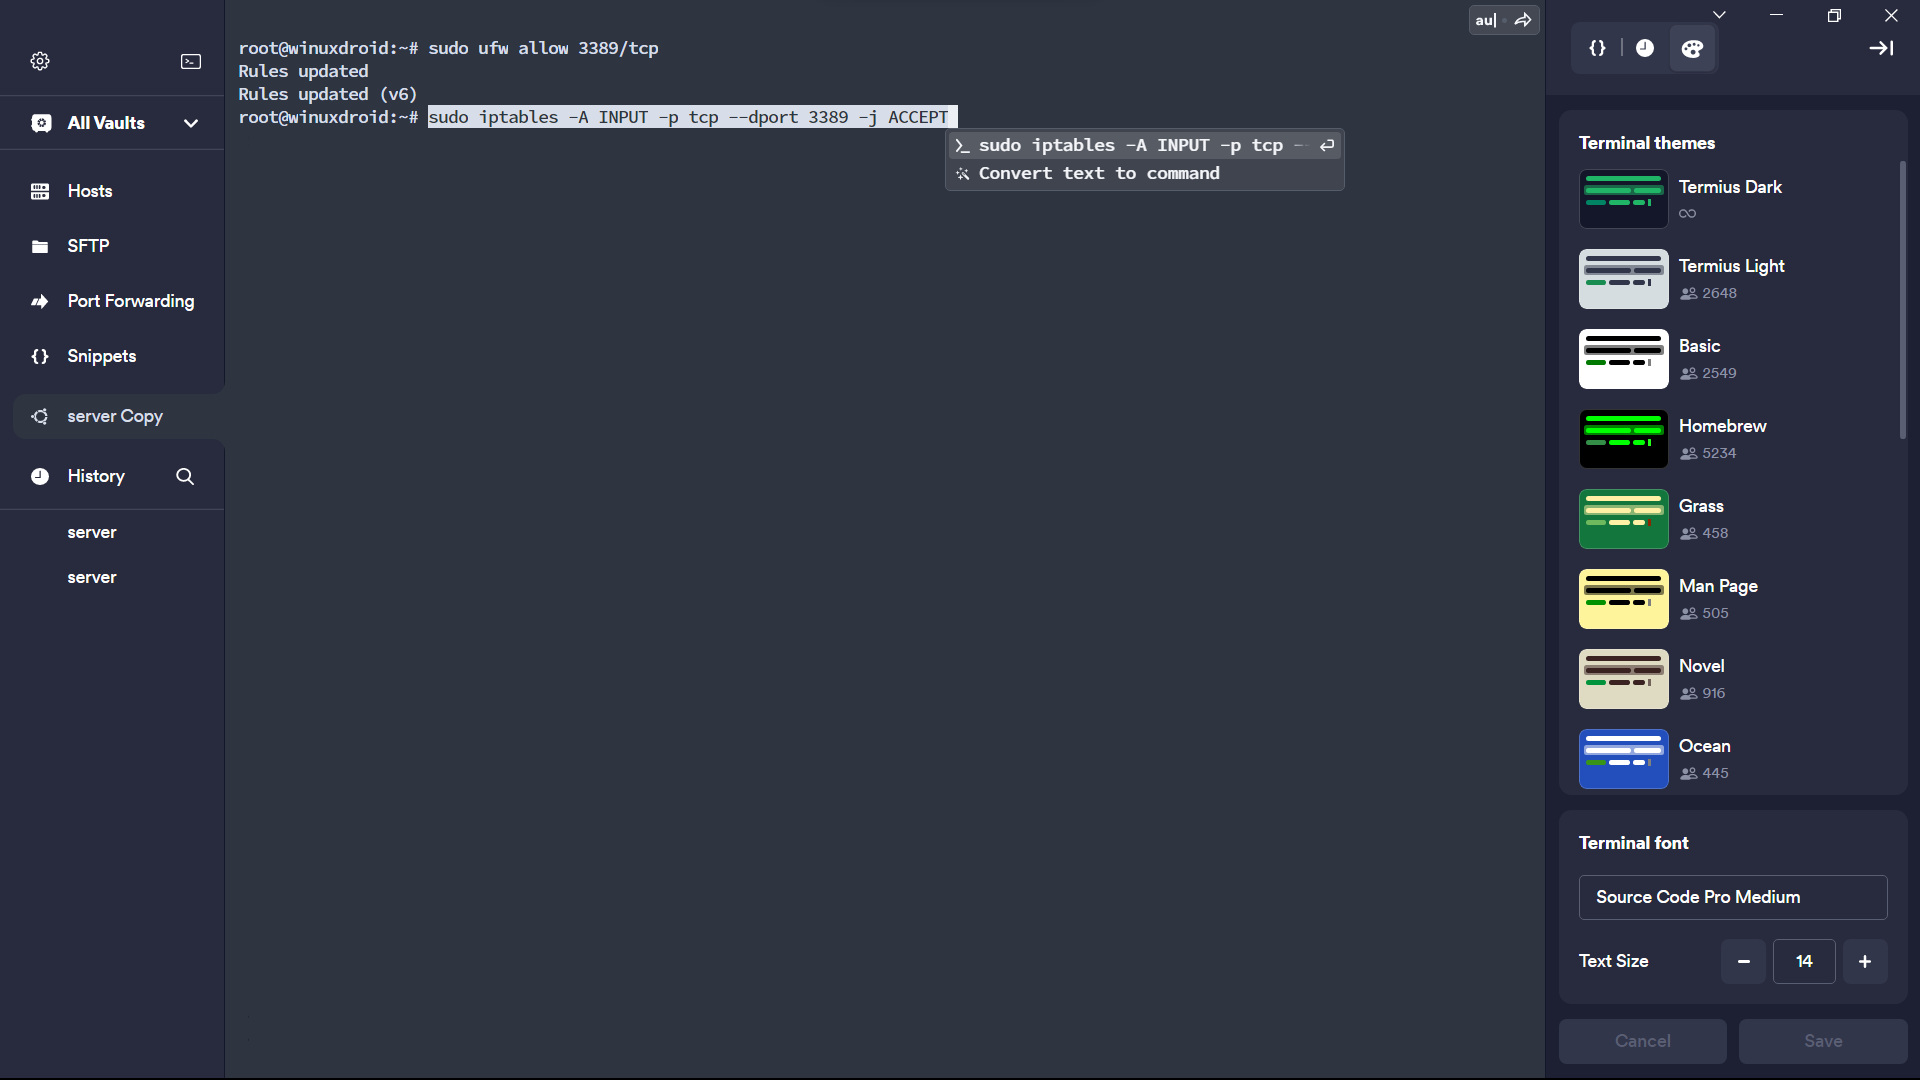
If Iptables is running on your server, Use below command
sudo iptables -A INPUT -p tcp --dport 3389 -j ACCEPT
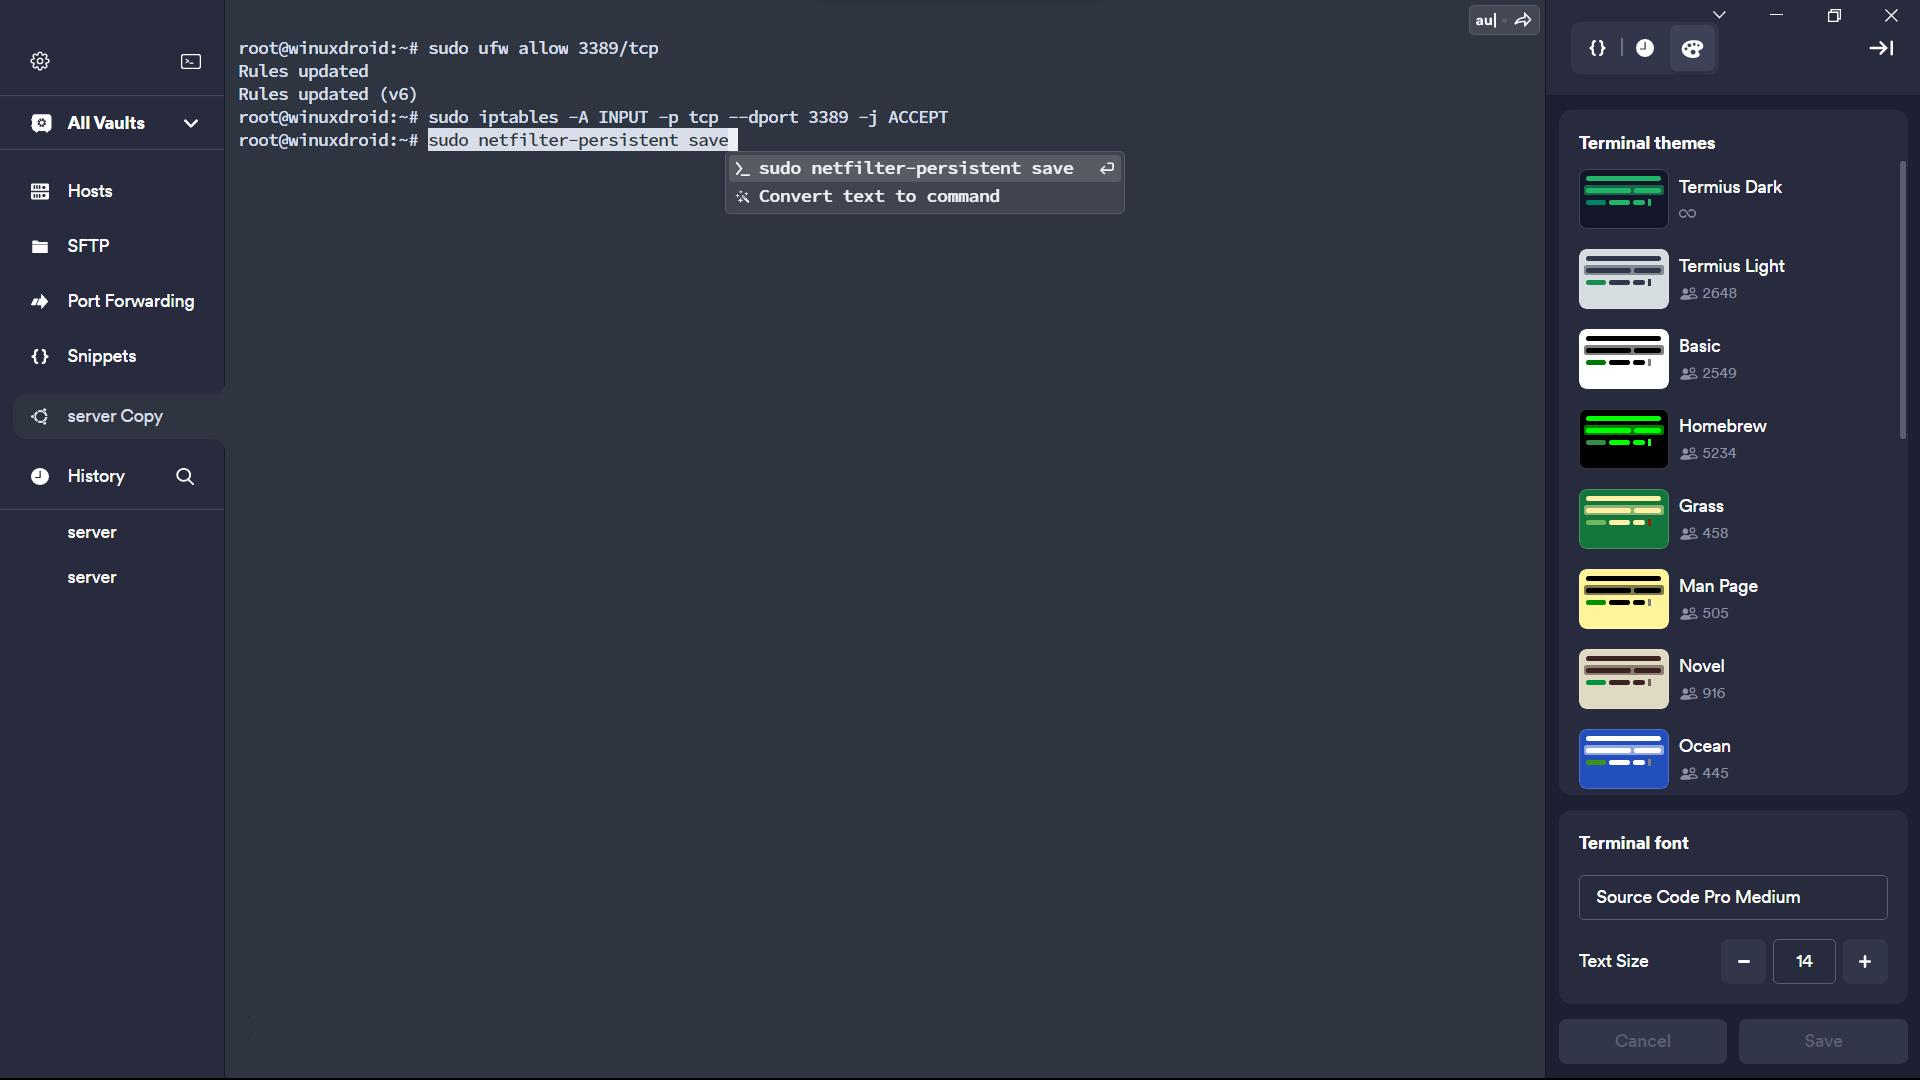
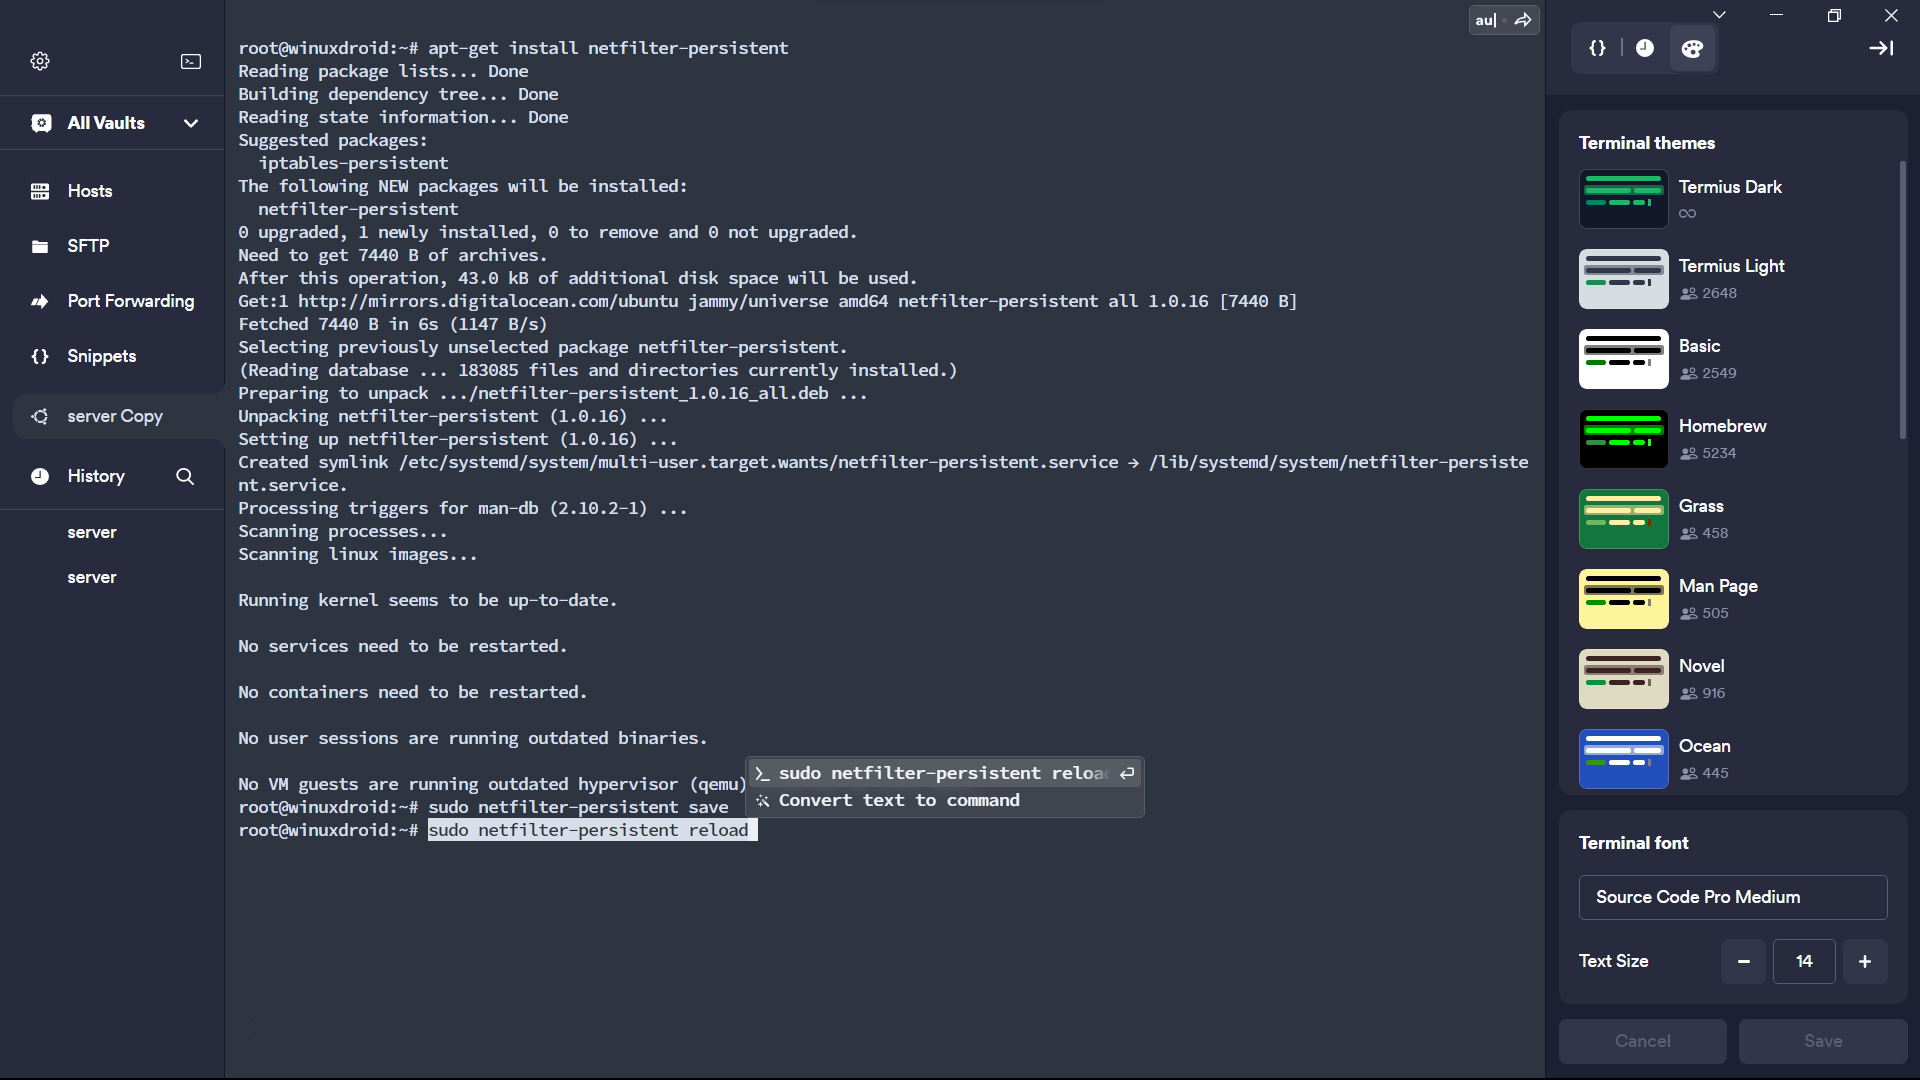
sudo netfilter-persistent save
sudo netfilter-persistent reload
Restart the Xrdp application
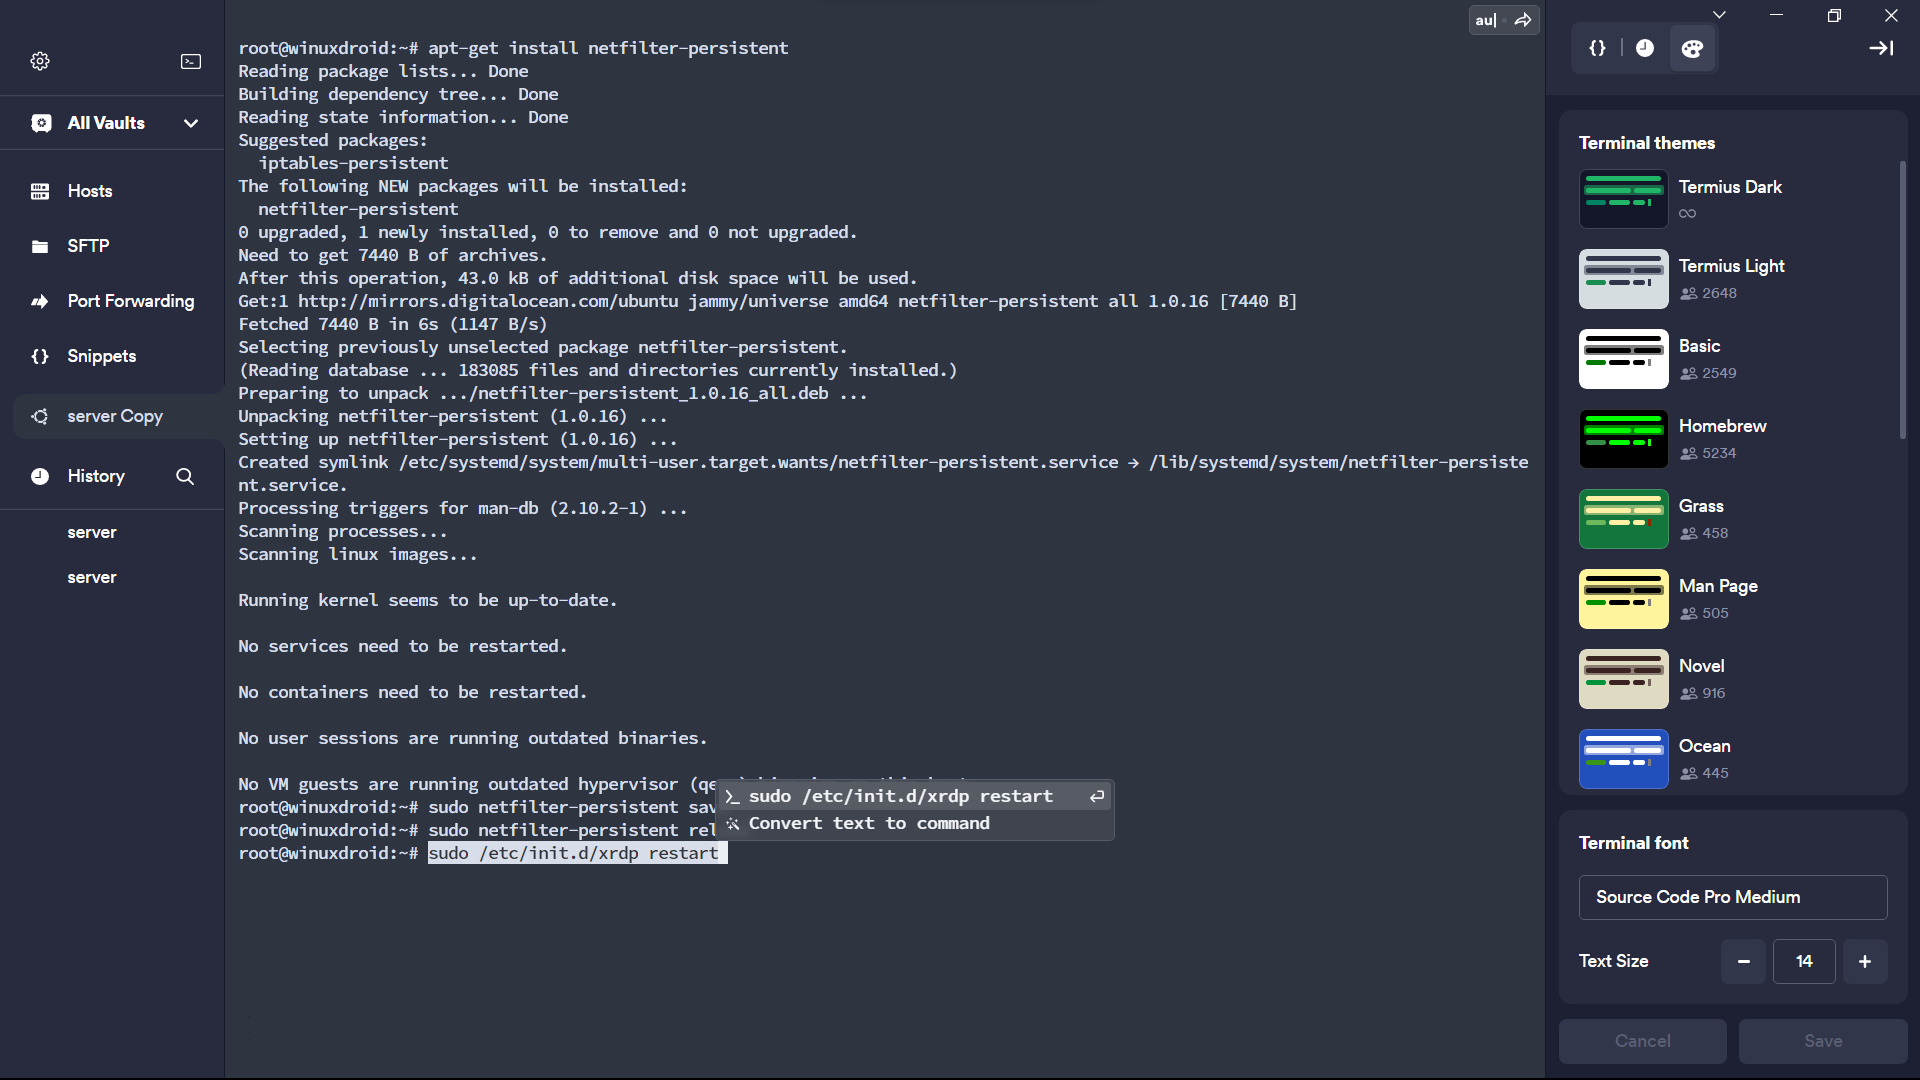
Restart once the Xrdp application to make sure all the above changes are reflected.
sudo /etc/init.d/xrdp restart
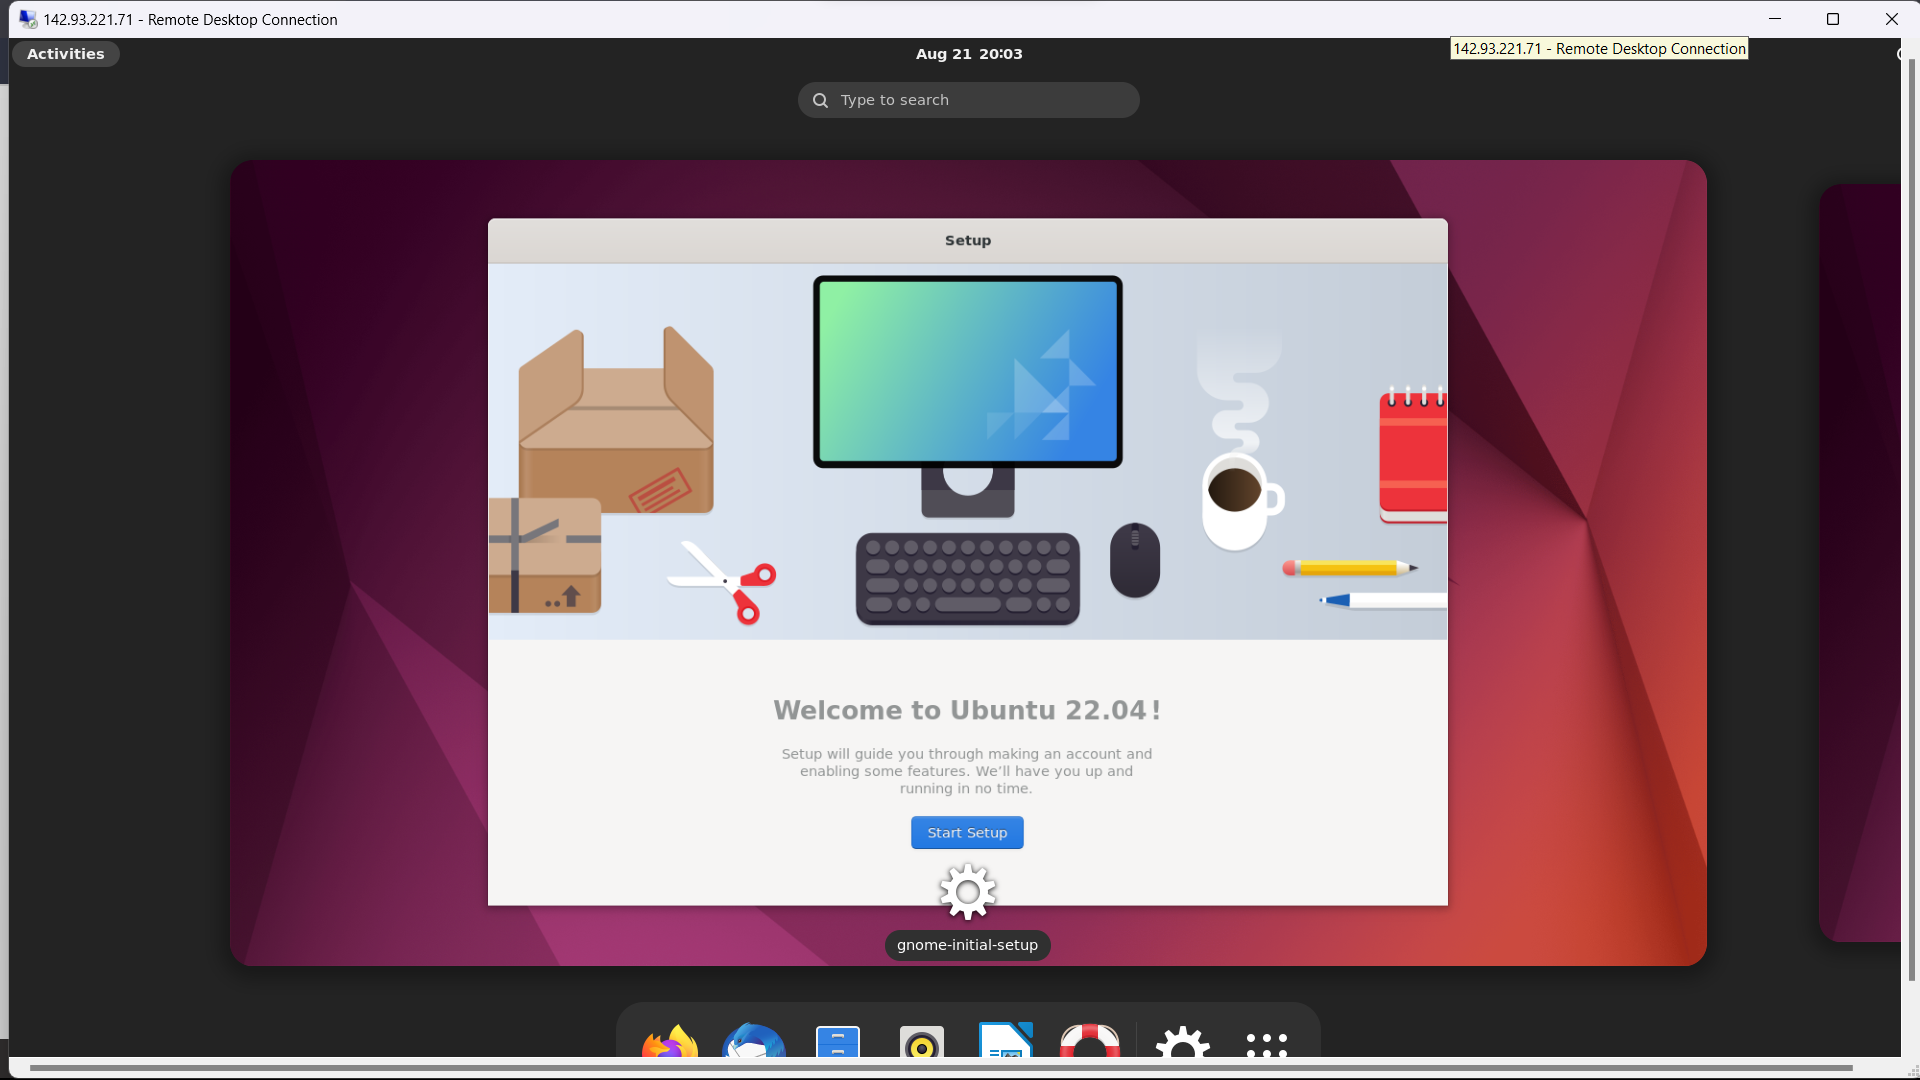
That’s it. You will now be able to connect to the server via RDP
If you are using Linux as your Local desktop you can connect to the server via Remmina. If you are using windows as a local desktop, Windows users have an RDP connection application by default on their machines. To find it search for “Remote Desktop Connection” from the start menu.
Switching between GUI
If you install more than one desktop environment, you can switch between different GUIs from your display manager screen. SLiM, for example, lets you cycle through the installed environments by pressing F1 repeatedly. The name of the currently toggled environment is visible at the bottom of the screen.
Uninstalling the GUI and Display Manager
To revert to the command line interface and remove the packages related to the display manager and the desktop environments:
- Open the terminal, and enter:
sudo apt remove [display-manager] [desktop-environment]
For example, to remove SLiM and LXDE, type:
sudo apt remove slim lxde
-
Reboot the system and log back in.
-
Finish by removing orphaned or unnecessary dependencies with autoremove:
sudo apt autoremove
If you’ve worked extensively with conventional operating systems, it can be challenging to have to work in a command-line interface. Fortunately, Ubuntu - like many Linux systems - is open-source, so there are many available GUIs to install.
After completing this tutorial, you should know how to install a display manager and a desktop environment on your Ubuntu Server.
